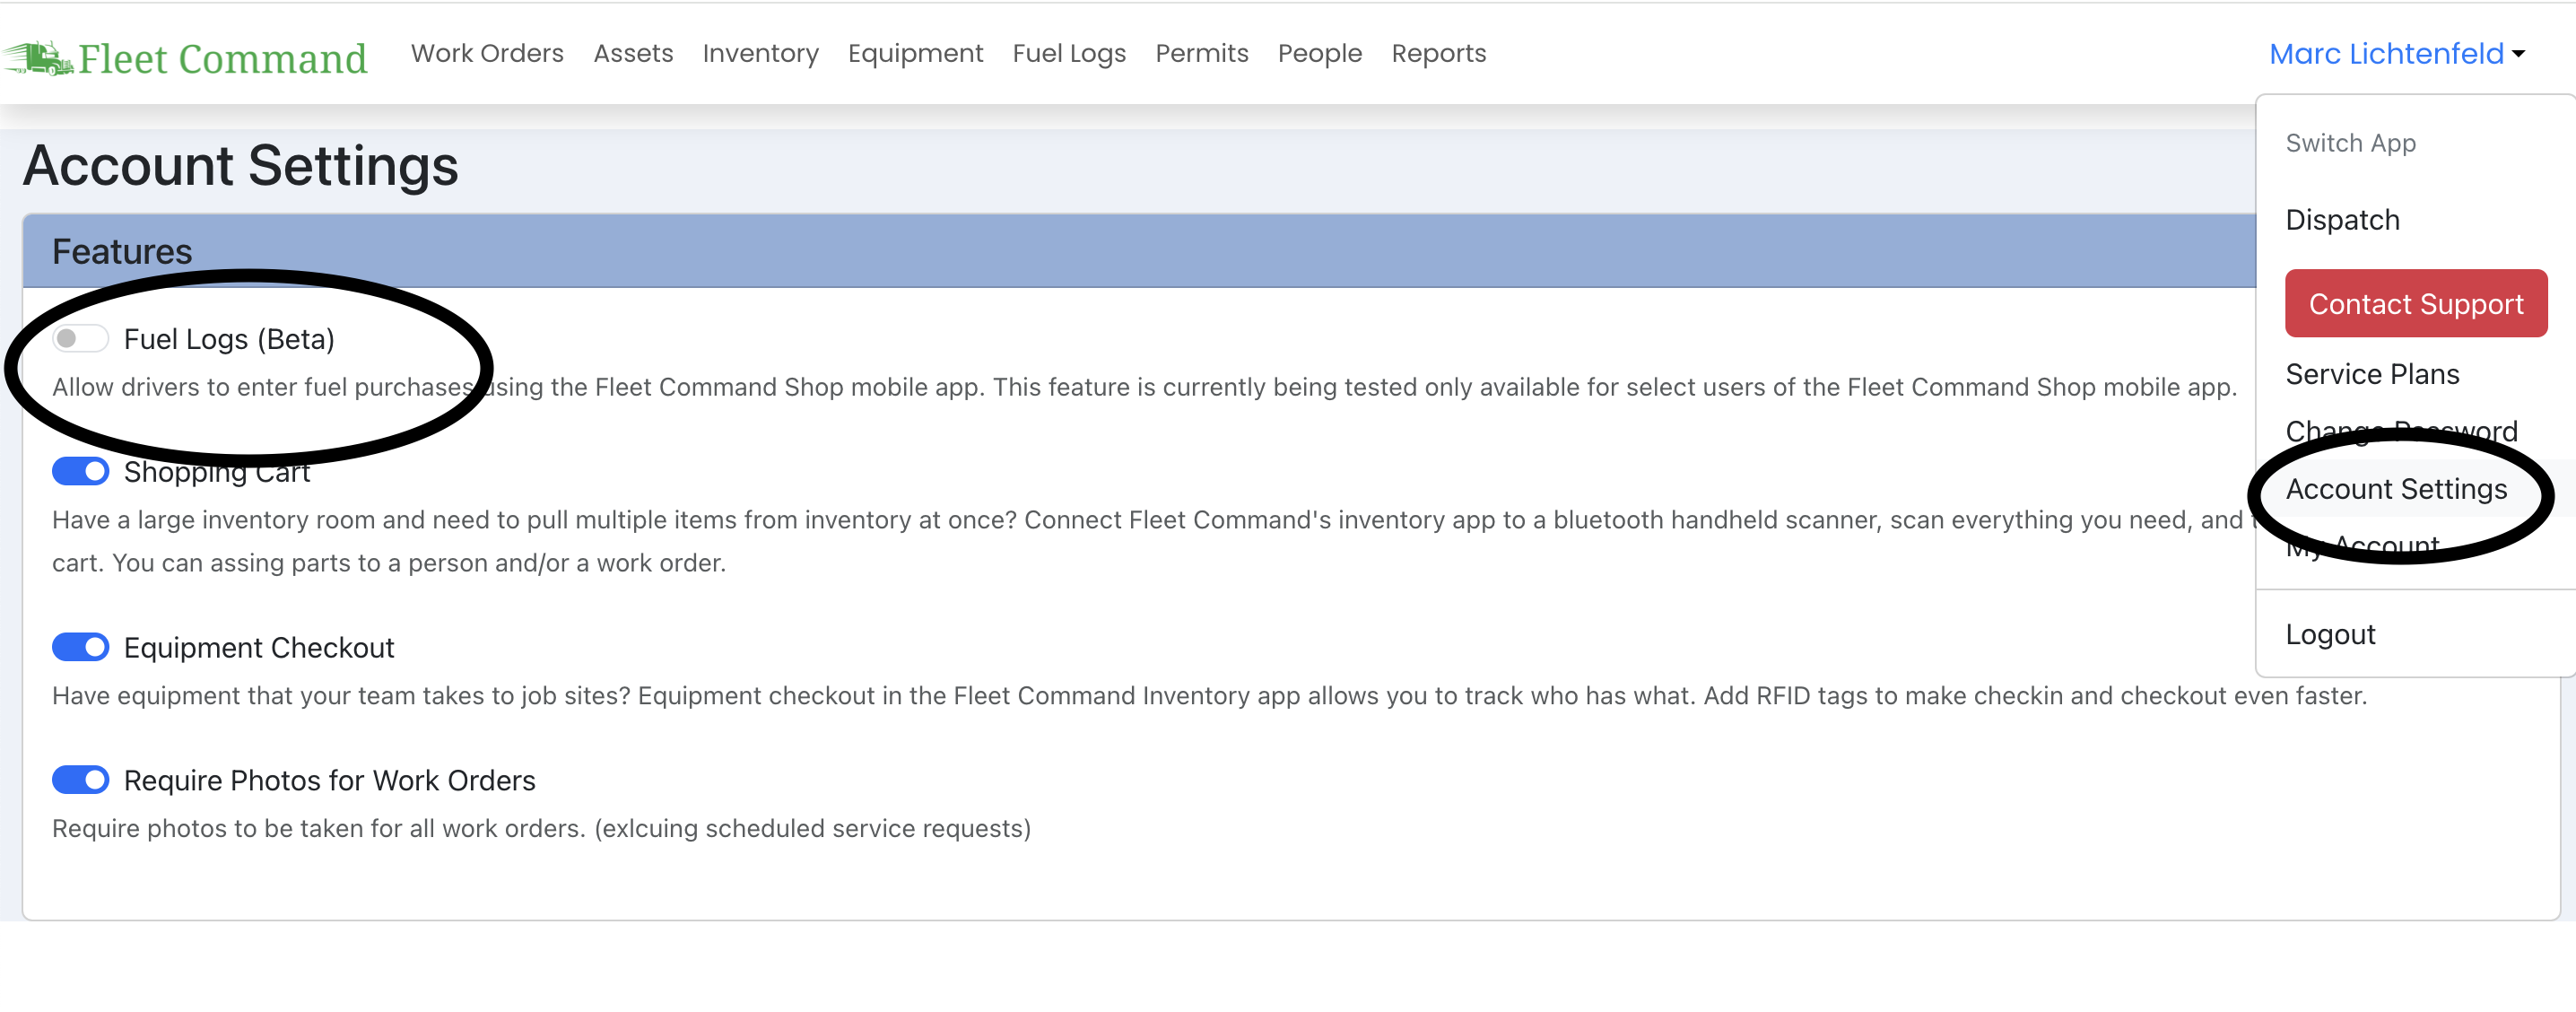
To enable or disable fuel logs, click on YOUR NAME -> Account Settings -> Manage App Features.
Configuring Fuel Logs
After turning on Fuel Logs, you can go back to account settings to add vendors and configure fuel log settings.
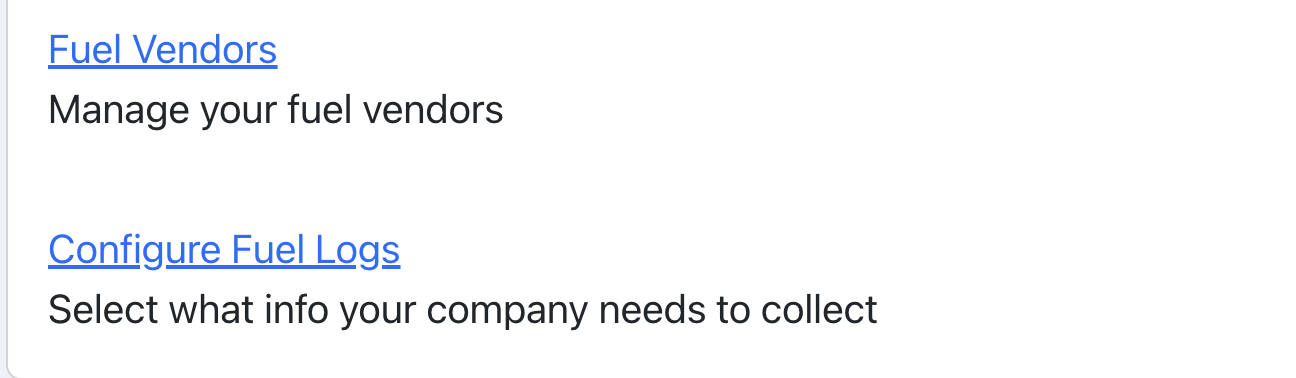
Fuel Vendors allows you to add places that your drivers normally fill up either on the road or at your company owned tanks.
Configuration options include:
- Jurisdiction - If you're tracking fuel usage for IFTA filings you will want this on to record what state you are fueling up in.
- Job - If you track fuel by jobs/projects, you can set job info to be collected here. For Fleet Command Dispatch users, this links to your customer projects.
- Price Per Gallon - By default, drivers are required to enter the total dollar amount of fuel purchased. Turn this on to collect price per gallon instead.
- Tax Amount - If you want to track any taxes paid, you can leave this setting on.
Important Note
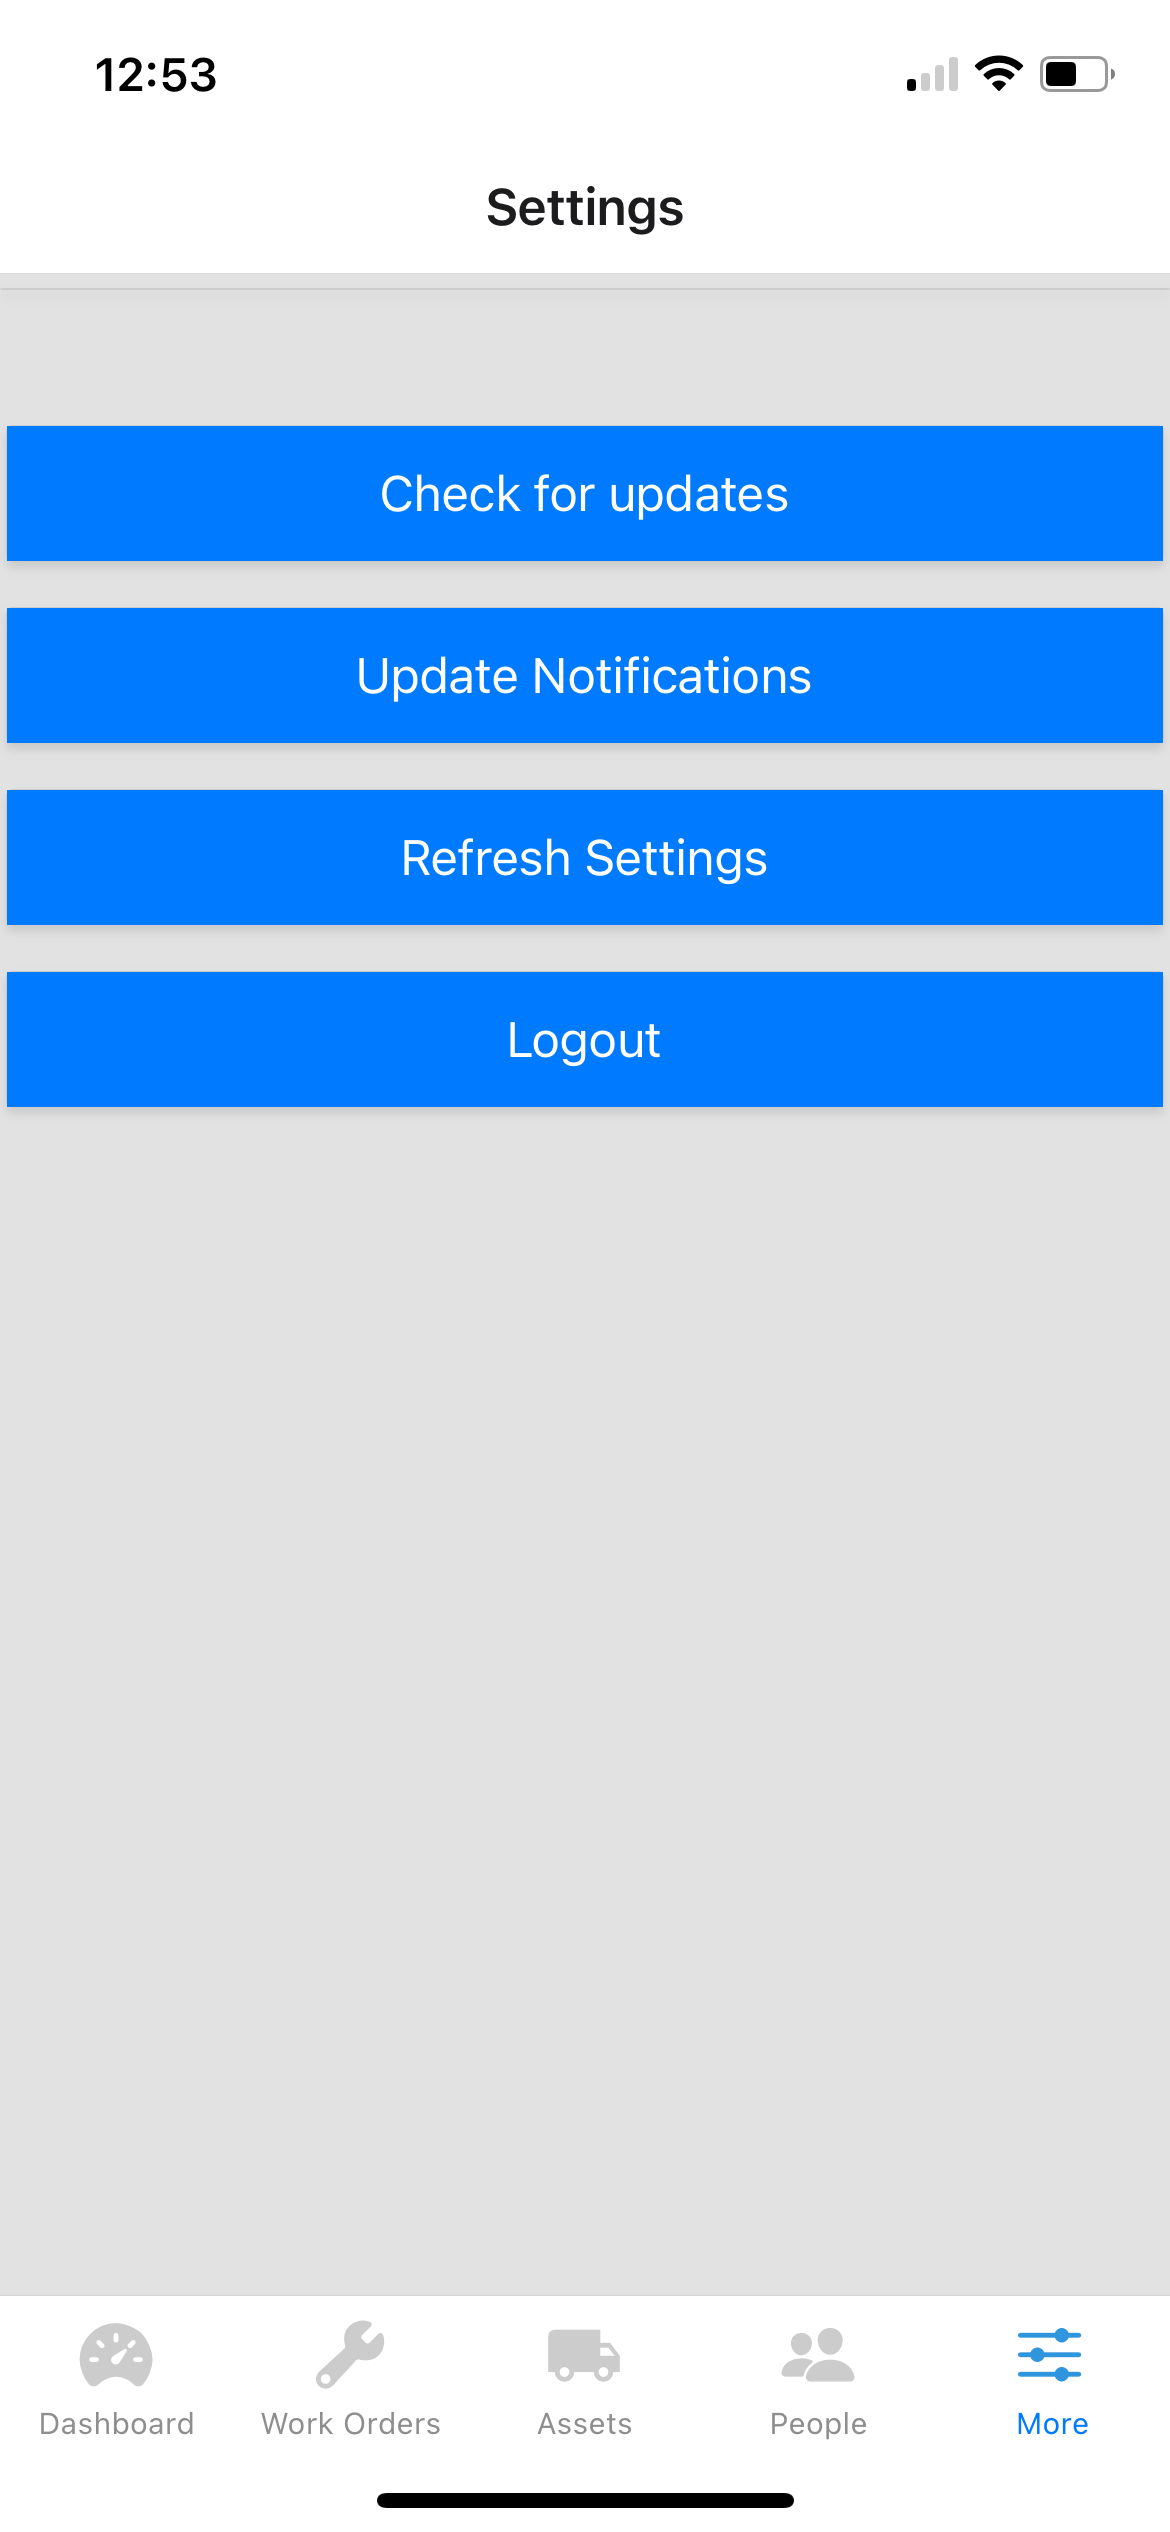
It may take about an hour for your drivers to have access to fuel logs. To get instance access, they can click the Refresh Settings button in the More tab of the mobile app.